Installing the module files
File download: NOC-PS-Hostbill-Module-5-2.zip for Hostbill
To install the files simply unpack the contents of the .zip file to the root folder of your Hostbill installation.
Configuring the Hostbill module
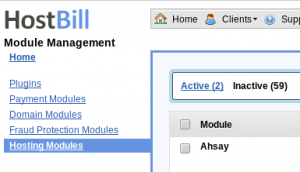
– In the Hostbill admin panel: go to “settings” -> “modules” -> “hosting modules” -> “inactive”
– go to “Nocprovisioning” and click on the green “Activate” button.
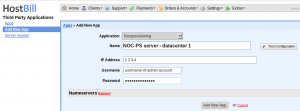
– enter a name of your choice, and the IP-address, username and password of your NOC-PS appliance.
The username supplied can be of any NOC-PS user that has administrative privileges, but it is recommend you create a seperate user for Hostbill for logging purposes.
Creating dedicated server products
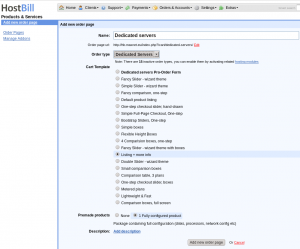
– go to “settings” -> “product/services” -> “add new group”
– Create a new dedicated server group here if you have not done so earlier.
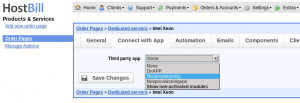
– Click on the example dedicated server product Hostbill created for us.
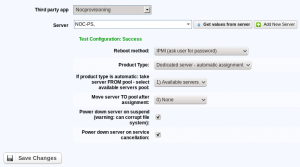
– Under the “Connect with App” tab, you can link the product to the Nocprovisioning module, and your NOC-PS server. After selecting the NOC-PS server, press “get values from server”
– You can select the “reboot method” you want your customers to use.
- Reboots can be performed “automatic” using a remote power switch or an IPMI password you saved in NOC-PS.
- Select “IPMI (prompt user for password)” for extra security. In that case the module will prompt the user for the IPMI password of the server each time the user wants to control power or provision the server. In that case it is not necessary to save passwords in the NOC-PS system, but it does require that you let the customer know the IPMI password.
- Or you can choose “manual” to not support automatic reboots, and handle them outside the system.
- “Dedicated server – manual assignment” – if you plan to assign servers manually to customers when approving the order.
- “Dedicated server – automatic assignment” – to let the module automatically take a server from an “available servers” pool, and move it to an “in-use” pool afterwards.
– When using “automatic assignment” please double check the right pools are selected!
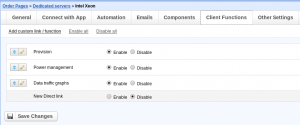
– Under the “Client functions” tab you can specify which functionality is available to the customer in the “Client area” (“Provisioning”, “Power management”, “Console” and/or “Data traffic graphs”)
Manually assigning orders to server
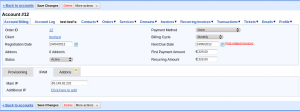
If you selected product type “dedicated server – manual assignment” you need to manually assign servers to customers. Go to the account’s settings and manually enter the IP-address of the purchased server there.
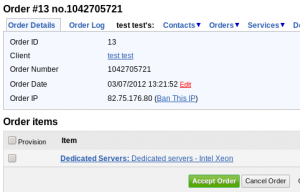
– In the “order” screen, click on the “Dedicated server” order item.
In the tab “IPAM” the IP-address of the server you want to assign to the customer needs to be entered, and the “save settings” button clicked.
This server must already be present in the NOC-PS system.
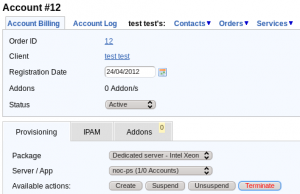
Can activate the service under the tab “Provisioning” by pressing “create”
Client area functions
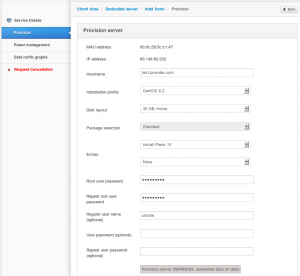
The customer (or admin using the “login as client” function) can click on the server in the “Client area”.
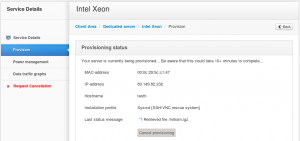
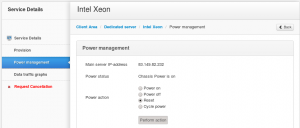
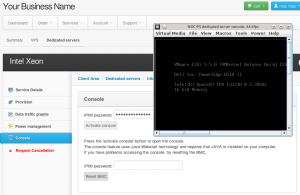
Here he can (re)install the operating system of his server, monitor the progress of a running installing, view the IPMI console, view data traffic graphs and manage the power (power on, power off, reset).

